|
1. An overview of the technical aspects: what can this technology do? (3 marks)
Of the many presentation software reviewed, I have chosen the presentation software Prezi. I chose Prezi as I had not researched it prior to this course, and when I read through Just Croxton's '36 Presentation Software & Powerpoint Alternatives For 2017' (2017), I noted that it is listed as "Perfect for - Educators...[and] Students" (Croxton, 2017). In terms of digital pedagogy, presentation software is vital in the classroom for teachers and students alike. There are many advantages to using Prezi, some of which are as follows:
In terms of collaboration, the new paid Prezi Next offers the feature of having up to 10 editors for a single presentation. Disappointingly, this is not on my free account (Figure 1). 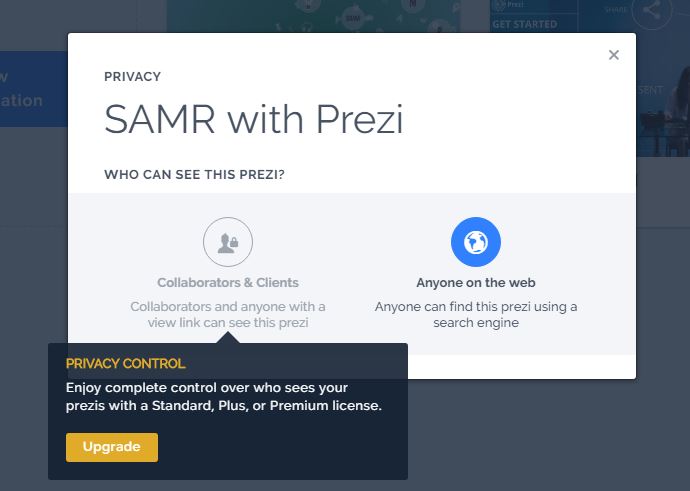 Figure 1 To demonstrate my technical skill using Prezi I have created a presentation that can be viewed in Prezi by clicking the following link: These are the steps I took to create my Prezi:
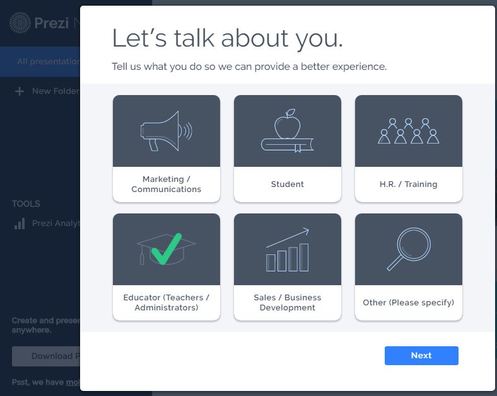 Figure 2 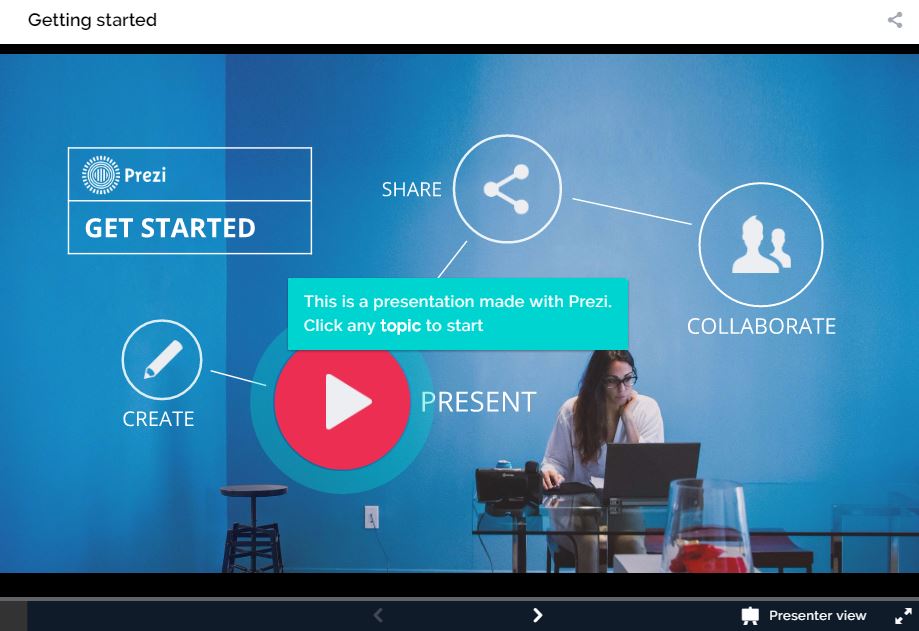 Figure 3 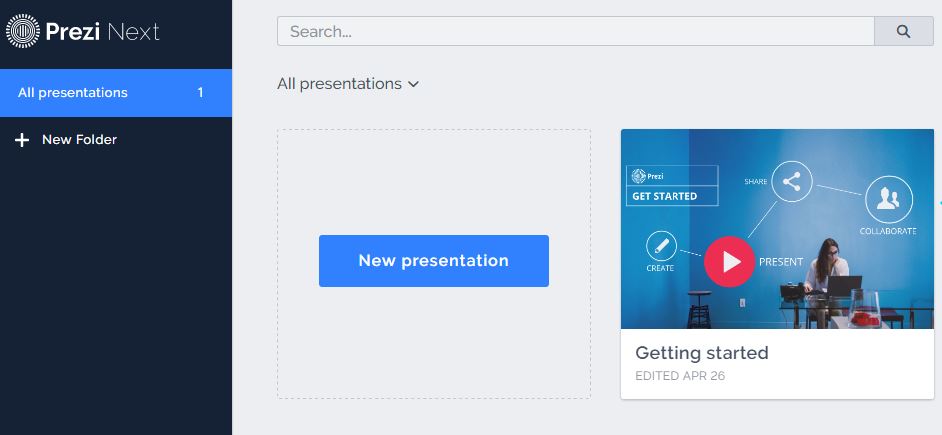 Figure 4 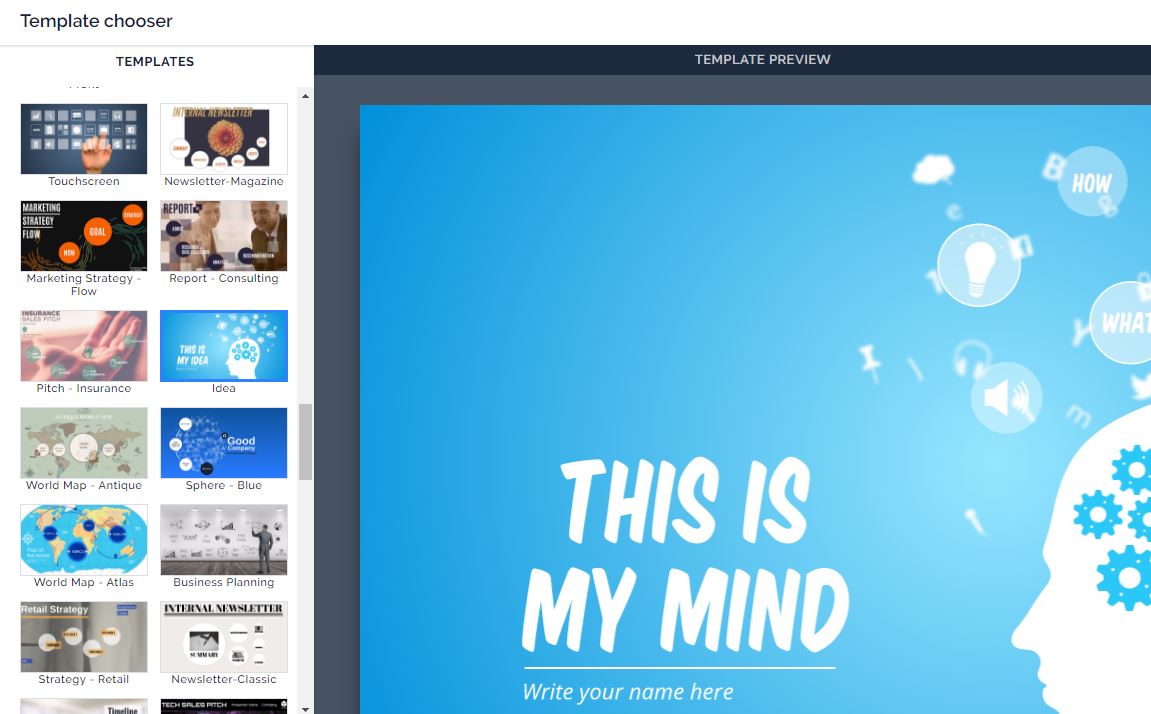 Figure 5 2. A discussion of the legal, safety and ethical protocols that should be considered when working with this technology (1 mark) I would have to refer to my previous comments in Embedded Task 2 regarding copyright. The terms of service for Prezi are similar to other such sites with legal, safety and ethical protocols covered. Please see Figures 6 for information regarding legal, safety and ethical protocols, and Figure 7 for pertinent information regarding age restrictions (less than 13 yrs not allowed): 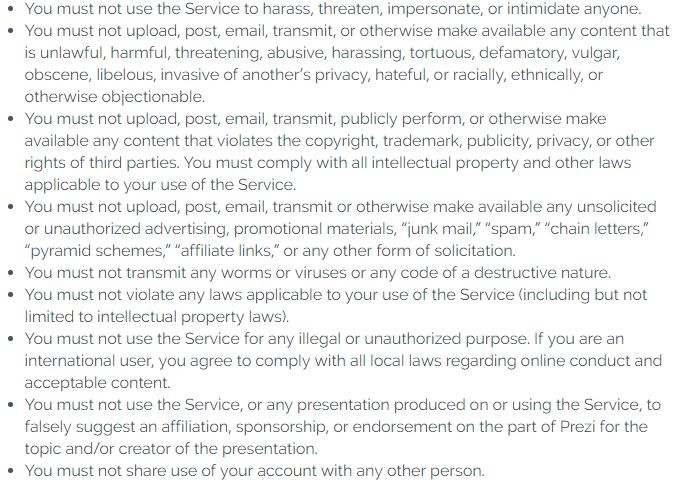 Figure 6 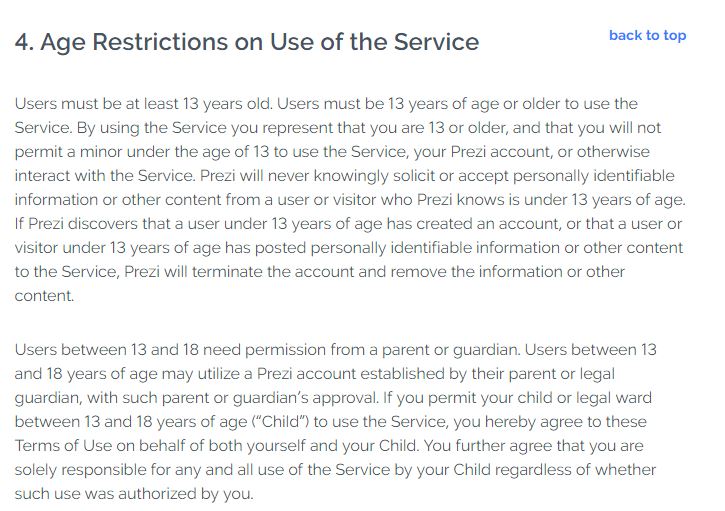 Figure 7 3. Suggestions about how this tool might be used in your teaching context. (2 marks). Using the SAMR model and the questions in Figure 8, this is how I would apply SAMR using Prezi when teaching students Java in IT for the following task that I would give to students (note: this is what I have put in my Prezi presentation): "Create a Prezi presentation of how you used Java in your assignment - instead of writing an assessment piece".
 Figure 8 Reference List Creative Education, (2017). Using Prezi in the Classroom. Retrieved from http://www.creativeeducation.co.uk/blog/using-prezi-in-the-classroom/. Croxton, J. (2017). 36 Presentation Software & Powerpoint Alternatives For 2017. Retrieved from https://www.customshow.com/best-powerpoint-alternatives-presentation-programs/. Herb, J. (2012). Prezi – Advantages and Disadvantages. Retrieved from http://instructionaltechtalk.com/advantages-and-disadvantages-of-prezi/. Prezi. (2017). Stuff You Should Know When Using Prezi. Retrieved from https://prezi.com/terms-of-use/#toc4.
0 Comments
1. An overview of the technical aspects: what can this technology do? (3 marks)
Following is my reflection on the topic of images, specifically Infogragphics In exploring this week's material I found that that I took a great interest in infographics. I was surprised to find that infographics are all around us and have been used for a long time (Rajamanickam, 2005). I also found that reading about infographics and different aspects of their use (such as how their use links to the Melbourne Declaration and how they relate to the Australian Curriculum, has brought them into a whole new light for me. The learning purpose of an infographic is to "display information" (Resource Link, 2011) in a manner that is more easily understood, and in a way that is possibly impossible with the use of text only (PC Magazine, cited in Resource Link, 2011). This is illustrated in Figure 1, which shows the difference between ‘Traditional’ learning and ‘Alternative’ learning incorporating infographics. 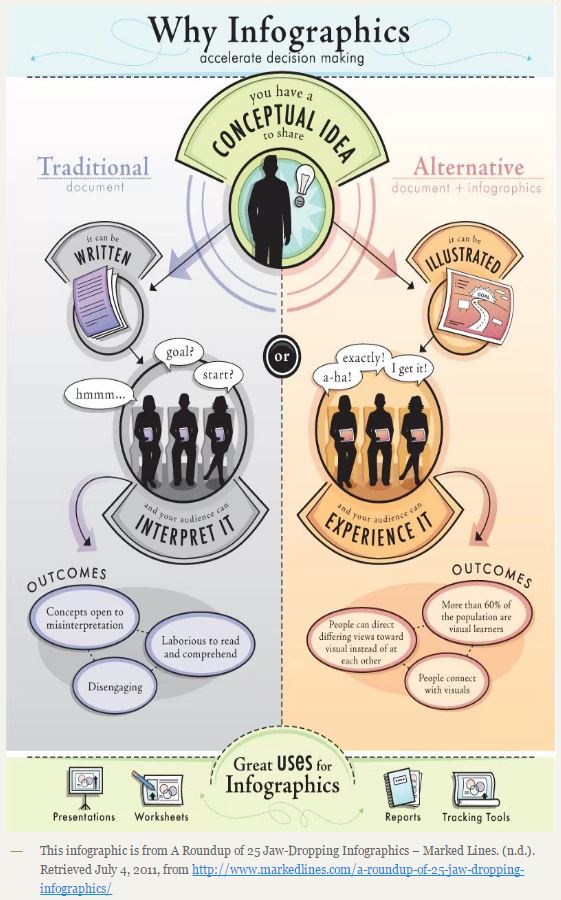 Figure 1 To answer the specific questions I have created an infographic using the web-based tool Easel.ly of my career path so far (Figure 2). This demonstrates my technical skill using the tool as I explain the tool and the steps I took to produce it. 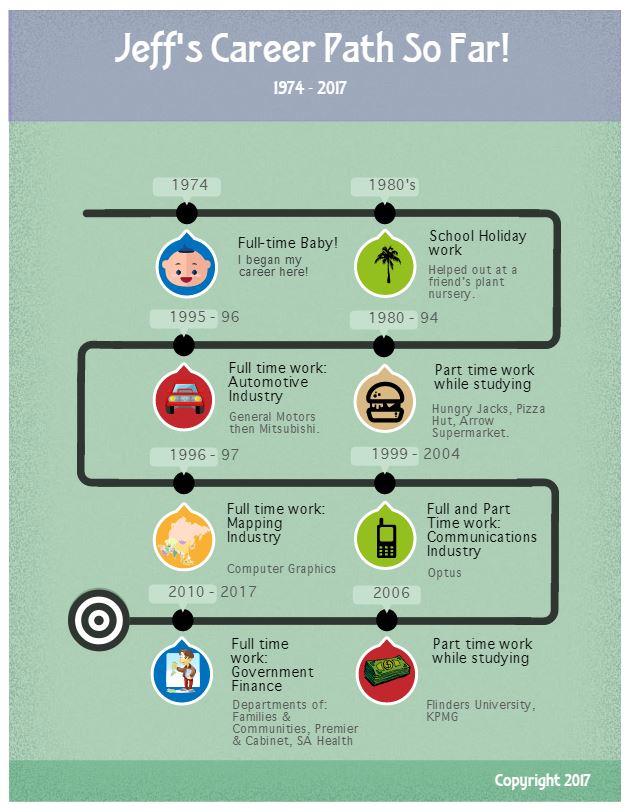 Figure 2 The settings in Easel.ly allow for the user to either make their own designed infographic or select from the templates available. I chose to use a template and explore the use of the editing tools. I found the tools easy to use, with the capacity to not only search for images, but import my own. There are also the expected tools such as inserting text and changing the background (see Figure 3).  Figure 3 At any given time, incomplete or complete, there is the option to download the infographic in different resolutions (Figure 4).  Figure 4 In terms of multi-author capability for collaboration, there are options such as ‘invite a friend to edit’ (Figure 5). 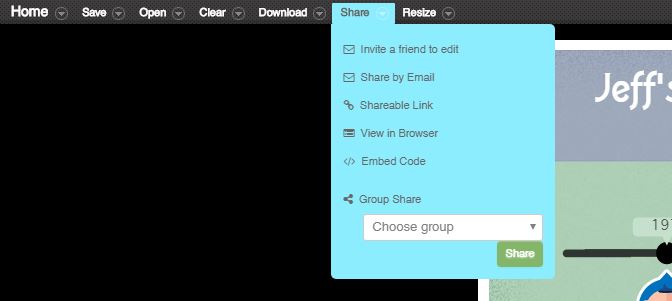 Figure 5 There is also the very important feature of being able to resize (Figure 6). Having printed a number of different size posters for my local Church, this feature is very handy! 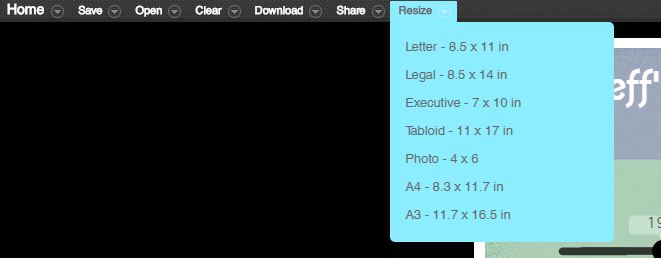 Figure 6 Overall, I found the tool very easy to use, an account can be set up with a password to ensure security (Figure 7), the level of expertise required is basic for selecting and modifying a template, moving to advanced for designing your own infographic, depending of course on the level of complexity desired. On a personal level, this exercise has shown me the immense potential that infographics have in presenting information, normally it takes me quite a bit of time to go through the different roles I have undertaken – but with this, it cuts the time down significantly! 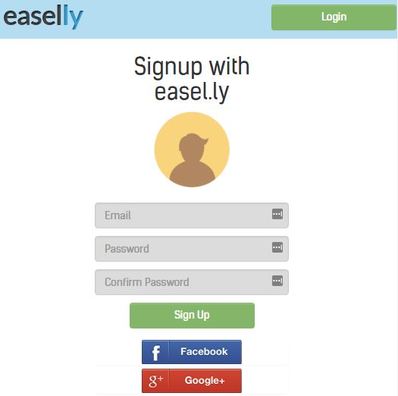 Figure 7 2. A discussion of the legal, safety and ethical protocols that should be considered when working with this technology (1 mark) With any form of creation there is always the issue of copyright . The creator needs to be mindful of work that they are taking from another, and in regards to use of this tool in the classroom, students should be made aware of copyright issues prior to computer use. Two excellent resources are:
Easel.ly’s 'Terms and Conditions of Use' cover the legal and ethical areas foreseen by the company, such as unlawful, obscene or copyrighted content (Figure 8), as well as pertinent information for teachers who wish for students under 13 years of age to use the site (Figure 9). 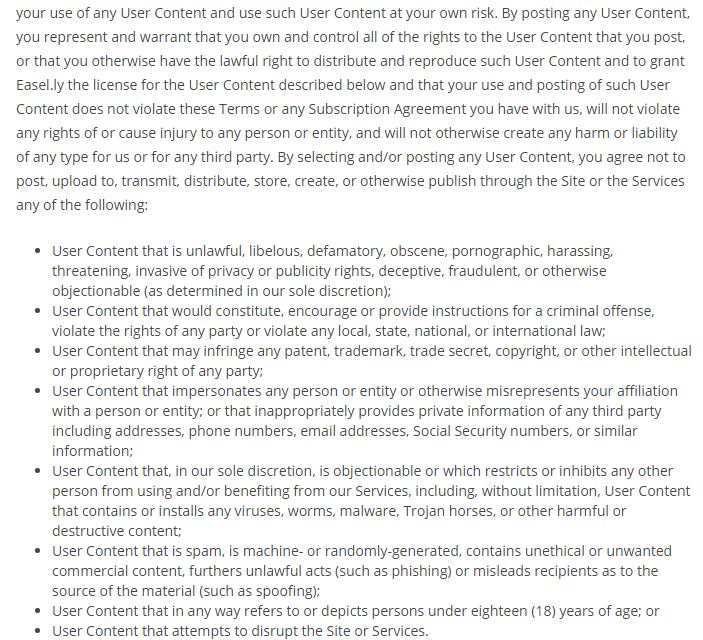 Figure 8 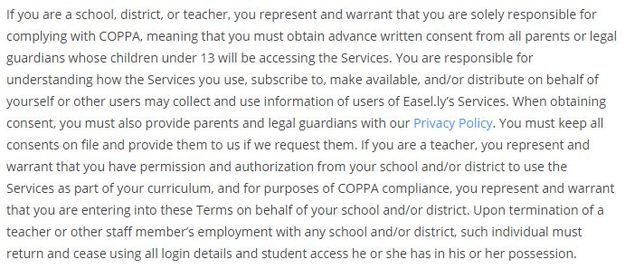 Figure 9 3. Suggestions about how this tool might be used in your teaching context. (2 marks). The article 'Info-what? Developing visual literacy through infographics' by Catholic Education (2011) states that there are three ways in which infographics can be used in the classroom:
Having looked at infographics at a deeper level than before, I now see them as much more than a poster, with far reaching benefits to teaching in the classroom. I can see myself using infographics in both of my teaching areas of IT and Business. Infographics will give students the opportunity to learn and experience many things such as the opportunity to "demonstrate their understanding collectively to groups of spectators" (Hall & Russac, 2015) and allow a freedom of expression and the opportunity for students to use their creativity that is not possible when presenting work in a text only format. Looking at lesson plans for years 7-10 on the website 'ReadWriteThink', there are a number of suggested lessons in which infographics are supportive of learning, these include learning to use 'How-to' writing (Wickline, 2017) and argumentative writing (Wickline, 2017). In my selection of suitable pedagogy I will take into account that much more than what is required in the actual lesson can be taught through the use of images and visuals. This includes learning different skills such as those I learnt using BeFunky (see blog post 'Pre-reflection 4.1') in image manipulation, as well as different programs such as Piktochart, which is recommended by the website 'ReadWriteThink' for students to use when making infographics. I would also consider using Infographics in assessment tasks in which students can "showcase their mastery of knowledge" (Schrock, 2017). Below is an infographic by Daniel Zeevi (n.d.) (Figure 10) that I could use to teach students about infographics themselves. 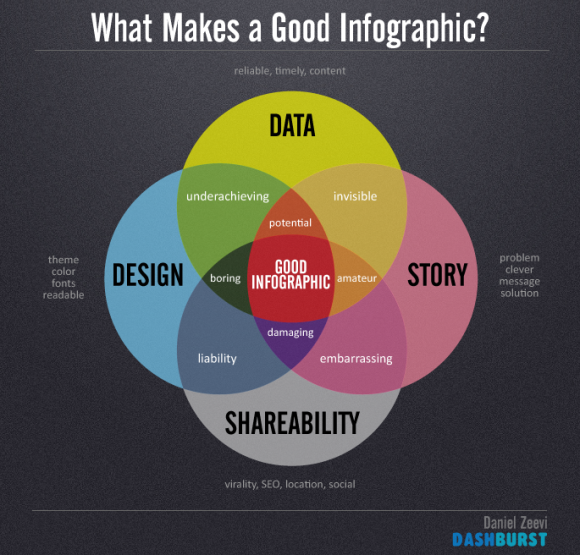 Figure 10 Using the SAMR model and the questions in Figure 11, this is how I would apply using infographics to teaching students about blogging in IT.
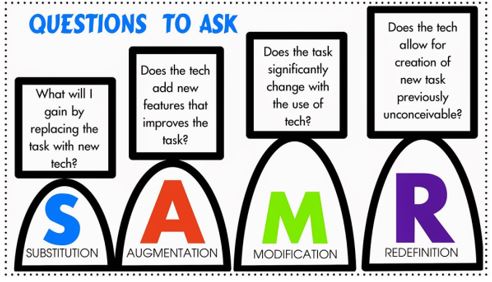 Figure 11 Reference List
Hall & Russac, (2015). Words, Pictures, Numbers, WOW! – 2nd Grade Infographics Attract Attention. Retrieved from http://theasideblog.blogspot.com.au/2015/01/words-pictures-numbers-wow-2nd-grade.html Readwritethink, (2017). Home Page. Retrieved from http://www.readwritethink.org/ Schrock, K. (2017). Infographics as a Creative Assessment. Retrieved from http://www.schrockguide.net/infographics-as-an-assessment.html Wickline, K (2017). A Picture IS Worth a Thousand Words: Using Infographics to Illustrate How-to Writing. Retrieved from http://www.readwritethink.org/classroom-resources/lesson-plans/picture-worth-thousand-words-a-31141.html. Wickline, K (2017). Picture This: Combining Infographics and Argumentative Writing. Retrieved from http://www.readwritethink.org/classroom-resources/lesson-plans/picture-this-combining-infographics-31135.html. Zeevi, D. (n.d.). What Makes a Good Infographic? Retrieved from https://tweakyourslides.files.wordpress.com/2013/07/good-infographic.png Following is my reflection on the online space of a blog, specifically Weebly. PLEASE NOTE: I have placed links throughout the post to demonstrate my technical skill in using Weebly. In this course I have used Weebly to create my first ever blog (plus a small site for Reflection 3.3), and I feel I have learnt considerably from this experience. I have had some great fun with this, and also learnt that it is rather easy to make mistakes! I lost one of my reflections (as talked out in my blog under ‘Ramblings’), which caused me to look again at a number of other student’s blogs and compare my format to theirs. Upon reflection of why I lost this work, I re-designed my site to a format that would make it harder to replicate this mistake (details here). All things considered, I like Weebly and love looking at different designs and experimenting with different layouts and formats. As mentioned in my first post (Reflection 1.1), a long time ago I built a website for my local Church using Weebly and was happy with the outcome, but I had never made a blog. I find Weebly intuitive in its design, utilising an easily understood and user-friendly interface. It is so simple that a design can be selected and modified very easily, with additional elements added to the page by dragging and dropping them from the menu bar (see Figure 1). 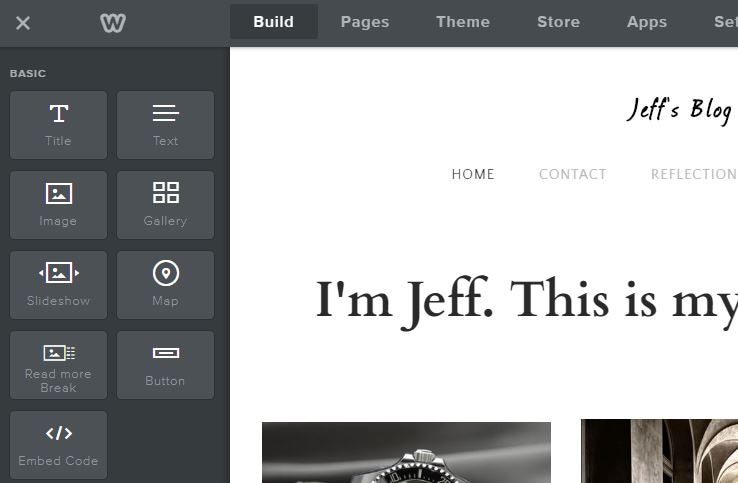 Figure 1 Pages can be easily added, copied, deleted (need to be careful here!), and new sites built very quickly in comparison to the time spent to build a page using code, such as HTML (I have done this in the past also). In short, blogs (and websites), built using Weebly are highly customisable. Regarding privacy settings, I spent some time looking at what is available on Weebly and found that in order to password protect your site or a specific pages an upgrade to a paid plan is required (see Figure 2).  Figure 2 So, in order to make a ‘hidden’, page I made a page and selected the checkbox marked “Hide in Navigation” (Figure 3). Therefore the only way to access the page (unless someone guesses the URL or finds a way to display a site map for my site), is for me to supply a link or the URL to those I want to access the page. The page can be found here: http://jeffsblogcqu.weebly.com/hidden.html. 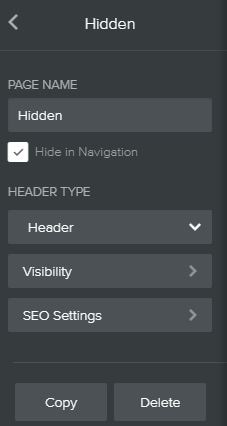 Figure 3 In my ‘Reflections’ I experimented with different functions such as; adding photos; linking to websites; commenting on a post to test and make sure commenting worked; and I added a table by saving it as a jpeg and inserting it that way. On my ‘Ramblings’ page I have kept a record of a number of things I encountered, such as how to change the favicon on the free Weebly site, and how to find the cached web pages in Chrome. In hindsight I should have spent less time on things such as changing the favicon – but it did take my interest and I’m happy with the result! I also embeded a video that was used in one of the lectures in my ‘Resources’ page. In relation to Bloom’s Taxonomy, using my blog as an example, those who read it can move from the ‘remember’ stage (simply reading the content on the site), to higher level order thinking in the ‘evaluate’ and ‘create’ stages by interacting with the author (me), by commenting on the blog posts. Extending this to the classroom, the same applies for students creating and collaborating with one another using blogs. Suggestions about how this tool might be used in my teaching context Through this exercise, I believe I am in a better position to teach in the classroom using blogs. Using the questions put forward by Holt (as cited in Brown, 2015), for describing the SAMR model levels in Figure 4, I feel that blogs can be very useful as follows:  Figure 4
As can be seen, there is great capacity for collaboration when using blogs. Legal, Safety and Ethical Considerations As is the case with all work on-line, safety is a high priority. I have enabled the function in Weebly to email me when a new comment is added to any post. There is also the ability for comments to require approval, but as my site is used for this course only and I have not entered any ‘Meta key words’, or a ‘Site description’ in the SEO section of the Settings for my site, I did not choose this option. To add another level of security, I could activate the option to ‘Hide site from search engines’, however I do not think this is relevant in the context for which the site is used. Regarding copyright, the Australian Copyright Council provides a useful following fact sheet regarding the basics of in regards to education which can be accessed here. Educational institutions are covered by special provisions in the Copyright Act, but this does not mean copyright does not apply. In the case of images and text, the following is stated by the Australian Copyright Council, 2014: “In each scheme, the amount of a work that can be used is, in most cases, limited to a “reasonable portion” (usually 10% or 1 chapter) if the work is available for purchase. A specific notice must be included with digital copies and communications.” For blogs and other sites (such as the two I have made for this course), the easiest way to ensure copyright is not infringed upon is to reference quotations and other information gleaned from others, and use sites such as 'Photos for class' which provides automatic citation, and Pixabay which provides images free from copyright with no attribution required. For my sites I used Pixabay specifically due to this reason. Regarding safety for children, children’s identity, reputation and cyber-bullying; if used in a classroom, the teacher can monitor all blogs to look for instances of cyber-bullying. Weebly also requires those who register to be over the age of 13 years. Weebly also prohibits certain sites being created on its platform that can be found in Figure 5 below: 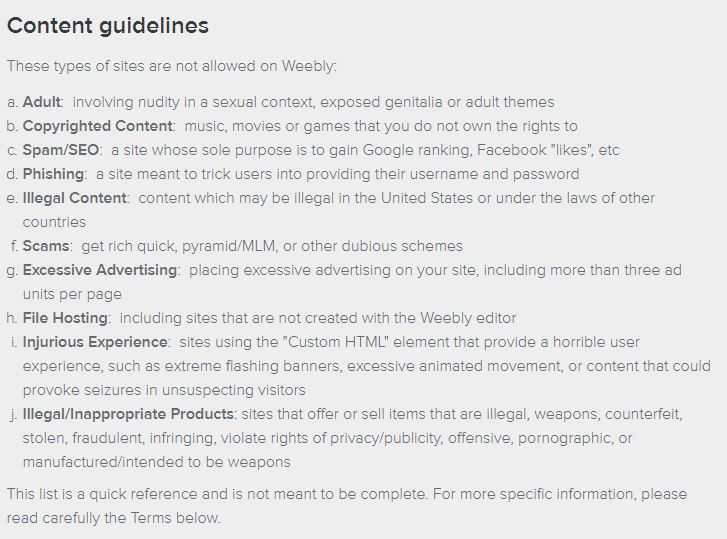 Figure 5
As a teacher, when using Weebly, in addition to Weebly's terms of service I would stipulate that the following points be adhered to by all students:
REFERENCE LIST Brown, P, 2015. A Guide for Bringing the SAMR Model to iPads. Retrieved from https://www.edsurge.com/news/2015-02-06-a-guide-for-bringing-the-samr-model-to-ipads Australian Copyright Council. (2014). Education: Copyright basics. Retrieved from http://www.copyright.org.au/acc_prod/ACC/Information_Sheets/Education__Copyright_Basics.aspx?WebsiteKey=8a471e74-3f78-4994-9023-316f0ecef4ef Weebly. (2017). Terms of service. Retrieved from https://www.weebly.com/au/terms-of-service |
 RSS Feed
